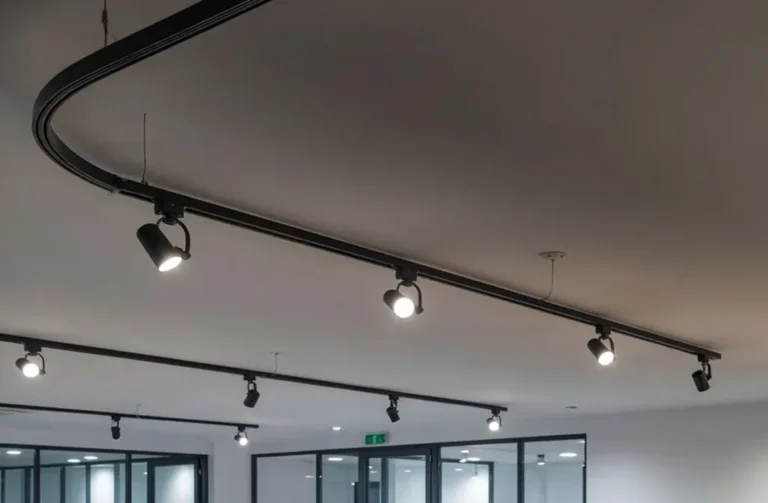
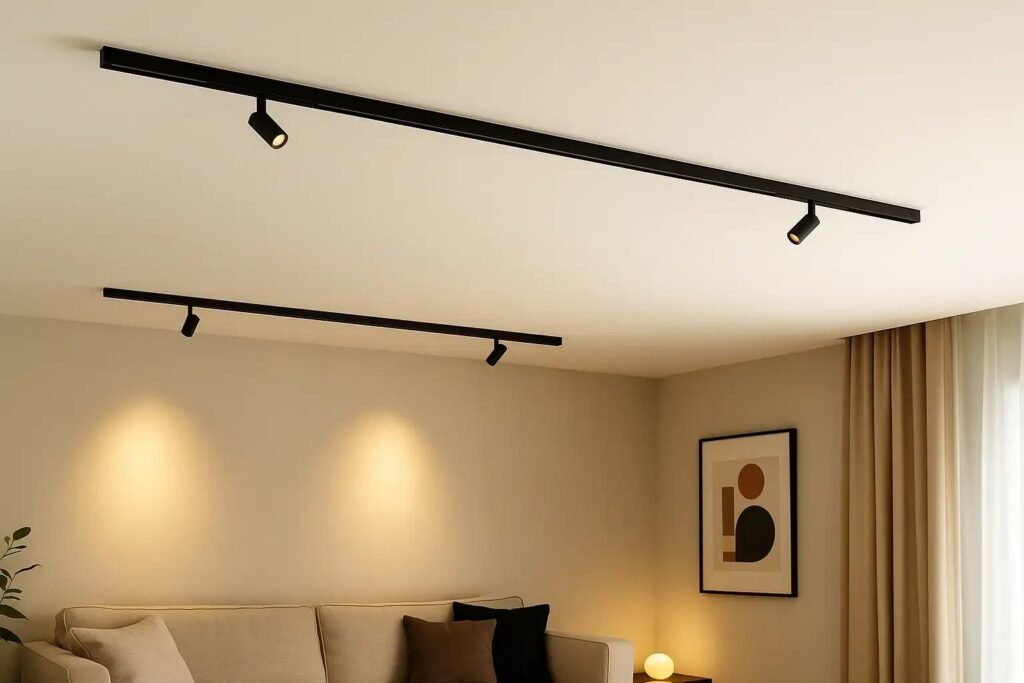
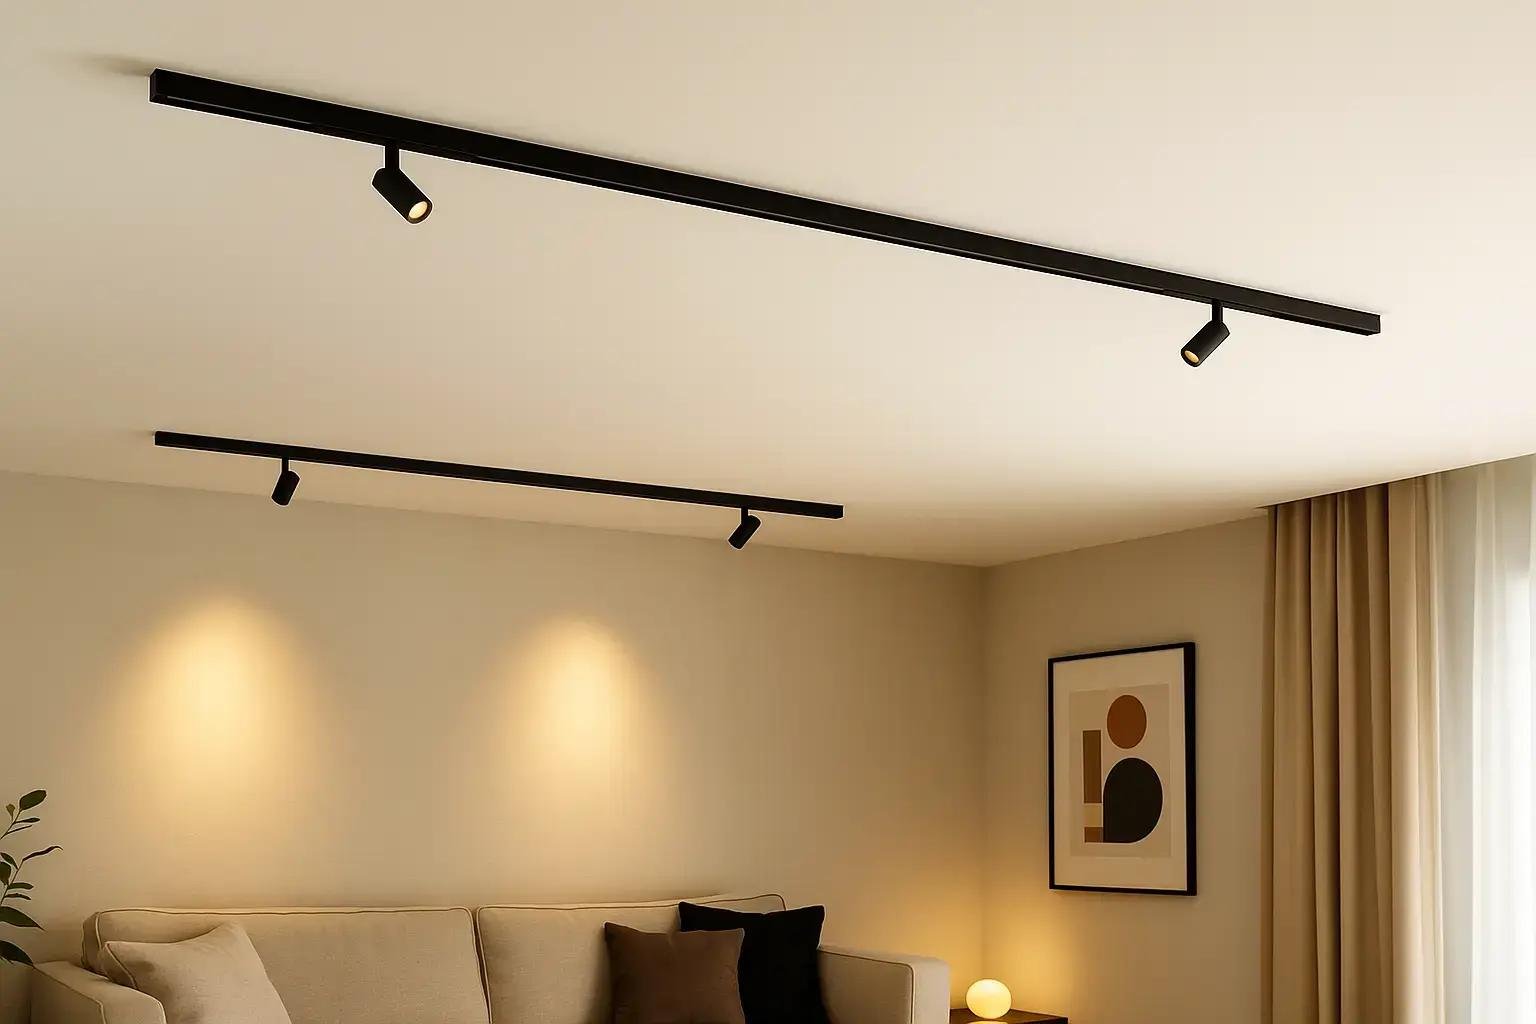
After years of working on lighting projects, I’ve noticed magnetic track lighting has really taken off lately. Both residential and commercial clients are asking for it by name. But a lot of people don’t actually understand how it goes in—they assume it’s just like regular track lighting, screw it up and you’re done.
It’s not that simple, but it’s not rocket science either. In this article, I’ll pull together what I’ve learned from actual installations, from planning to final testing. We’ve hit pretty much every pitfall there is, so hopefully this saves you some headaches.
Let me be straight with you first: if you’re going recessed and you’ve never touched electrical wiring, hire an electrician. Surface-mounted is doable if you’re handy, but the wiring part is not where you want to cut corners.
Before You Touch Anything, Figure This Out
Too many people buy tracks and fixtures first, then realize halfway through that the dimensions are wrong or the power feed is in the wrong place. I’ve seen this happen more times than I can count, and the rework is always painful.
First, decide which installation type you need. There are three main options: surface-mounted, recessed, and suspended.
Surface-mounted is the easiest. The track sits right on the ceiling, no cutting required—you can even do it in a rental. The downside is the track is visible. If you want that ultra-minimal look, you might not love it. But the newer profiles are pretty slim, some as thin as 8mm, and honestly they look cleaner than you’d expect.
Recessed gives the best result—the track sits flush with the ceiling, almost invisible. But this has to be planned during the framing/drywall stage. If your ceiling is already finished, forget about recessed. The demolition alone isn’t worth it.
Suspended works well in high-ceiling spaces—lofts, showrooms, double-height living rooms. The track hangs from wires, so you can position the light lower where you actually need it.
Once you’ve picked the type, measure everything and draw a layout. Here’s the thing most people miss: where does the power feed go? Magnetic track runs on low voltage (24V or 48V), so you need a driver to convert household power. That driver needs to be somewhere accessible—don’t seal it inside the ceiling where you can’t get to it later.
I usually recommend a power feed every 5 to 8 meters of track. Go much longer than that and you get voltage drop at the far end, so the lights dim out. People discover this after everything’s installed, and fixing it is a nightmare.
Tools and Materials—This Is All You Need
You don’t need a workshop full of specialized gear. A basic home drill set covers most of it.
Here’s the list: track (cut to size), driver, magnetic fixtures, power feed module, end caps, mounting clips, screws. Tools: drill, level, screwdriver set, wire strippers, voltage tester.
Get a level. Seriously. A crooked track is painfully obvious, especially on long runs. Even a millimeter or two off and you can see it. I use a laser level to mark a line and follow it—no guessing.
One safety rule that shouldn’t need saying but does: turn off the breaker before touching any wires, then test with a voltage meter to confirm it’s dead. This isn’t a joke—people get hurt every year skipping this step.
Getting the Track Up
Let’s start with surface-mounted, since it’s the most common.
Drill holes along your marked line, insert wall anchors. Hold the track up and drive the screws in. Don’t over-tighten—you can warp the track, and then the fixtures won’t sit flat. Just snug it to the ceiling.
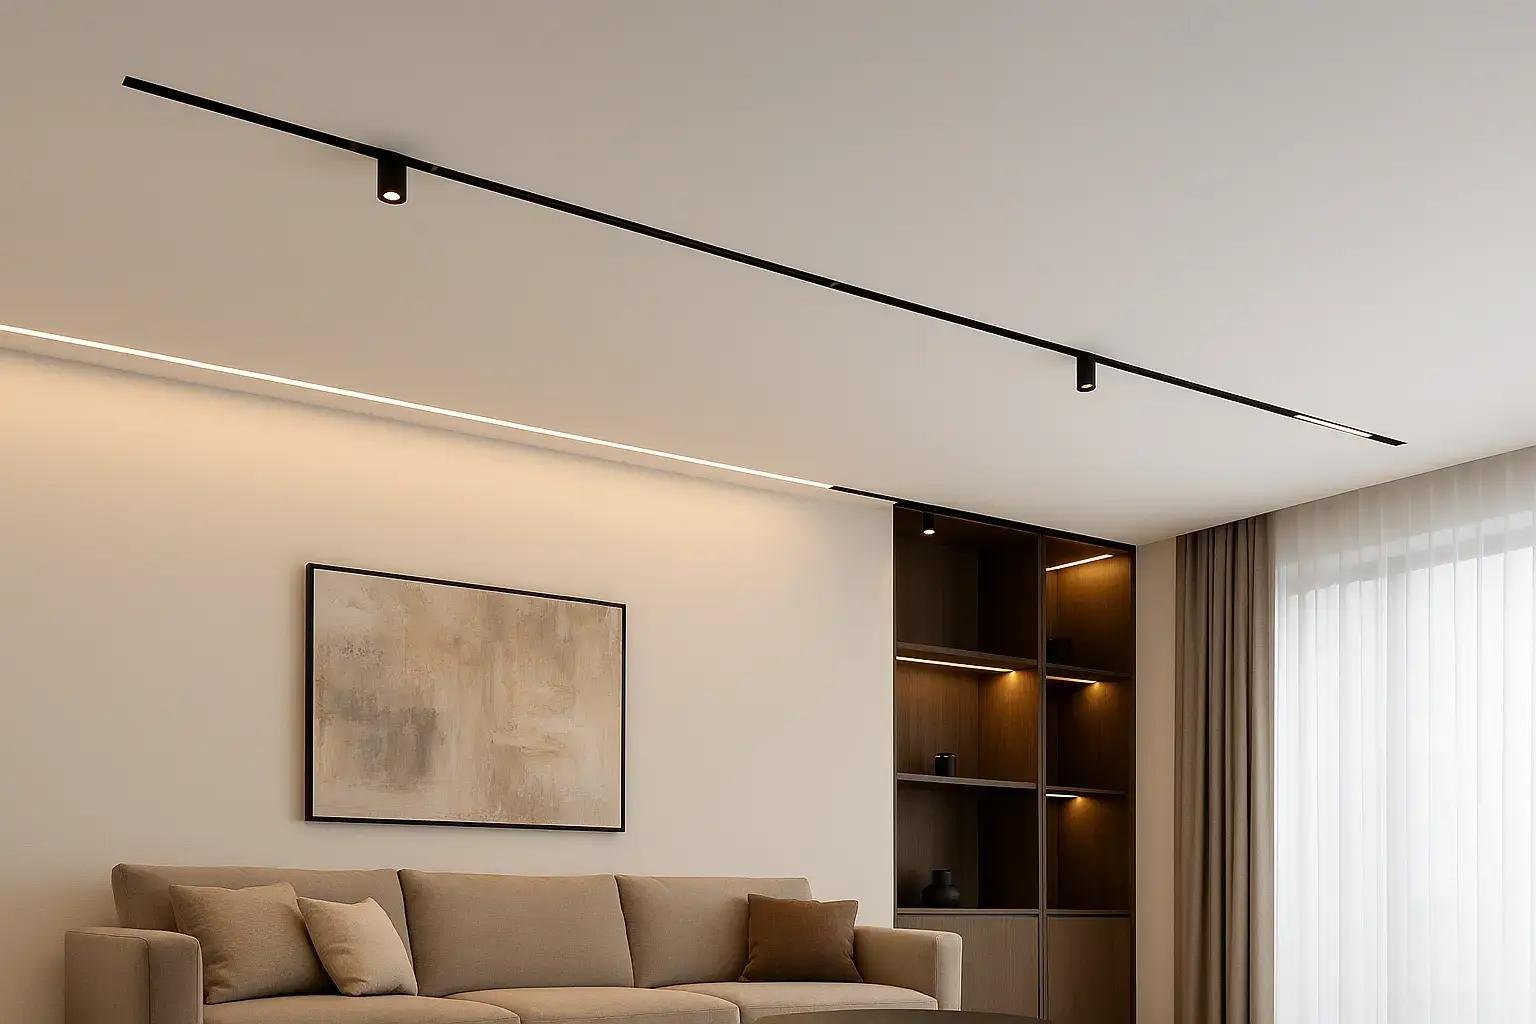
If you need to join tracks, use the straight connectors. For corners, there are L and T connectors available. Just make sure everything lines up flush—gaps look bad.
Put end caps on both ends. Safety first, but it also keeps dust out.
Recessed is a bit more involved. You cut a channel in the ceiling matching the track dimensions (the manufacturer usually provides drawings). Set the track in, screw it to the joists, then mud, tape, and paint around it. Finally snap in the track cover and fixtures.
This part needs precision. If the channel is crooked or the depth is off, the track won’t sit flush. For recessed work, get someone who’s done it before.
Suspended is straightforward—mount ceiling plates, hang the track with wires, level it, lock everything down.
Wiring Is the Make-or-Break Step
Once the track is secured, it’s time for power.
The driver’s input side connects to your household AC (line, neutral, ground). The output side goes to the track’s power feed module. Watch your polarity—reverse it and the lights won’t turn on. Usually won’t damage anything, but you’ll have to open it back up and swap wires, which is annoying.
Most systems use red for positive, black for negative, but check the manual to be sure. Secure all connections with terminal blocks or wire nuts—don’t just wrap tape around them. They loosen over time.
The power feed module clips into the track at whichever end or middle point you planned. It locks in place so it won’t slide out.
Before you put any fixtures on, turn the power on and test that the track is live. A multimeter check at the output saves you trouble later.
Putting On the Fixtures Is the Easy Part
This is genuinely zero-effort. Hold a fixture up to the track, push it into place, and the magnets grab it—you’ll feel that satisfying click. To move it, just pull it off and put it somewhere else. No tools, no screws.
That’s the whole point of magnetic systems. Traditional track lights require aligning connectors and tightening screws—repositioning takes forever. With magnetic, you can rearrange the whole room’s lighting in minutes.
Spacing depends on what you’re lighting. For general ambient, 60 to 90cm apart works. For task or accent lighting, go tighter, 30 to 50cm. There’s no exact formula—put them up, step back, and adjust. That’s the beauty of it.
After Everything’s In, Do This
Turn everything on and check each fixture. If one’s not working, it’s almost always a contact issue—pull it off and snap it back on.
Then check that the lights at the far end are the same brightness as the ones near the power feed. If they’re noticeably dimmer, you’ve got voltage drop. Add another power feed or upgrade to a higher-wattage driver.
If you’re using dimmers, test the full range. Flickering means you’ve got the wrong dimmer type—magnetic LED systems are picky about dimmers. 0-10V or DALI dimmers work best; standard TRIAC dimmers often cause problems.
Finally, snap on all the covers and end caps, clean up, and you’re done.
Mistakes I’ve Seen Cost People Money
Let me run through the common ones, all from real projects:
First, hiding the driver somewhere inaccessible. One client sealed theirs in the ceiling, and when it failed a year later, we had to cut out a section of drywall to replace it. Always leave an access panel, or put it near an existing HVAC access point.
Second, overloading the track. Every track and driver has a maximum wattage. Add up your fixtures and leave about 20% headroom. Don’t just pack as many lights as you can fit.
Third, using the wrong dimmer. Mentioned this already, but it bears repeating—buy the dimmer that matches your system’s protocol, not whatever’s cheapest at the hardware store.
Fourth, not accounting for thermal expansion. Metal tracks expand and contract with temperature changes. On long runs, don’t rigidly fix both ends—leave a little room for movement.
DIY or Hire a Pro?
Surface-mounted, if you’re comfortable with basic electrical and have the tools, you can absolutely do this yourself. I’ve seen homeowners pull off clean installations.
But recessed, or any project involving significant wiring changes? Get an electrician. The labor savings aren’t worth the risk or the potential rework.
On pricing: surface-mounted labor runs about $100 to $200 per meter. Recessed is more, $200 to $400 per meter because of the ceiling work. For a typical 10-meter surface install, materials plus labor usually lands somewhere between $2,000 and $4,000, depending on fixture quality.
Questions People Ask Me
**How long does an install take?** Surface-mounted, a skilled tech can do about 10 meters in half a day. Recessed ties into the drywall schedule, so figure a day or two.
**Can I do this with low ceilings?** Surface-mounted profiles are only a few centimeters deep. Anything over 2.5 meters ceiling height is fine. Recessed takes even less vertical space.
**What if I want to add more fixtures later?** Just buy compatible fixtures and snap them on. No wiring changes needed. That’s the whole advantage.
**Can I mount track on walls instead of ceilings?** Absolutely. Wall-mounted magnetic track makes great wall-wash lighting.
Closing Thoughts
Magnetic track lighting is genuinely good stuff—flexible, clean-looking, easy to live with. But with installations, the planning matters more than the execution. Get your measurements right, your power feeds positioned, and your wattage calculated, and the actual install goes smoothly.
If you’re planning a magnetic lighting project, feel free to reach out to us. We’ve done plenty of them and can give you straight advice on layout and products. Take a look at our Magnetbahnsysteme too—surface, recessed, suspended, all the accessories you’d need.
Lighting is a decades-long decision. Worth getting it right.